The real problem
You nailed the spec on paper, then the first shot comes back warped, sticky, or simply wrong — and now the launch is sliding. That’s the core problem: the handoff from requirement into manufacturing is where things break, not in a single step but across many tiny mismatches. I’ll walk through the actual fixes that stop that cascade, starting from clear requirements and ending at reliable volume runs. If you’re trying to bridge design and production, consider testing early with custom injection molding services so you don’t learn the hard way during full tooling.
Diagnosing where it goes sideways
Most failures fall into three buckets: ambiguous specs, material mismatch, and weak tooling decisions. Ambiguous specs let assumptions creep in. Choosing a resin without checking shrink rates or color stability leads to fit and cosmetic rejects. And a rushed mold design almost always produces short shots, flash, or uneven cooling. Say it plainly: unclear expectations let the production partner guess — and guesses cost you time and money.
Experience and standards that matter
I’ve edited dozens of case studies and gathered lessons from suppliers and engineers who ship parts into regulated fields. Real manufacturing follows standards like ISO 9001 for quality management and ISO 13485 where medical parts are involved, and large supply hubs such as Guangdong Province, China are often where tooling and short-run validation are accelerated by established vendor networks. For actual manufacturing partnerships, working with a recognized custom injection molding manufacturer keeps technical communication tight because they’re used to translating engineering drawings into manufacturable tooling and process controls.
Practical steps that prevent rework
Start with a usable requirement sheet: critical dimensions, tolerances, surface finish, expected loads, and a clear definition of acceptable defects. Run DFM (design for manufacturability) early — get material-specific feedback on shrink rates, rib thickness, and gate location. Prototype in the target resin or a close substitute. Use soft tooling or low-volume molds to validate cycle times and cooling patterns before committing to hardened steel. When you reach full tooling, set up a short PPAP-style approval: first article inspection, dimensional sign-off, and a documented sampling plan for the initial runs.

Common pitfalls and how to dodge them
Don’t assume identical properties across similar resins. Don’t lock in tolerances tighter than assembly needs — they add cost but often don’t improve function. Leaving gate location to the toolmaker without direction can create warpage; suggest gate options and simulate if possible. Ignoring part ejection and draft angles forces last-minute tooling changes. And finally, skip the “we’ll fix it on the line” mentality; fixes at scale are orders of magnitude more expensive than fixing at prototype.
Alternatives and when to use them
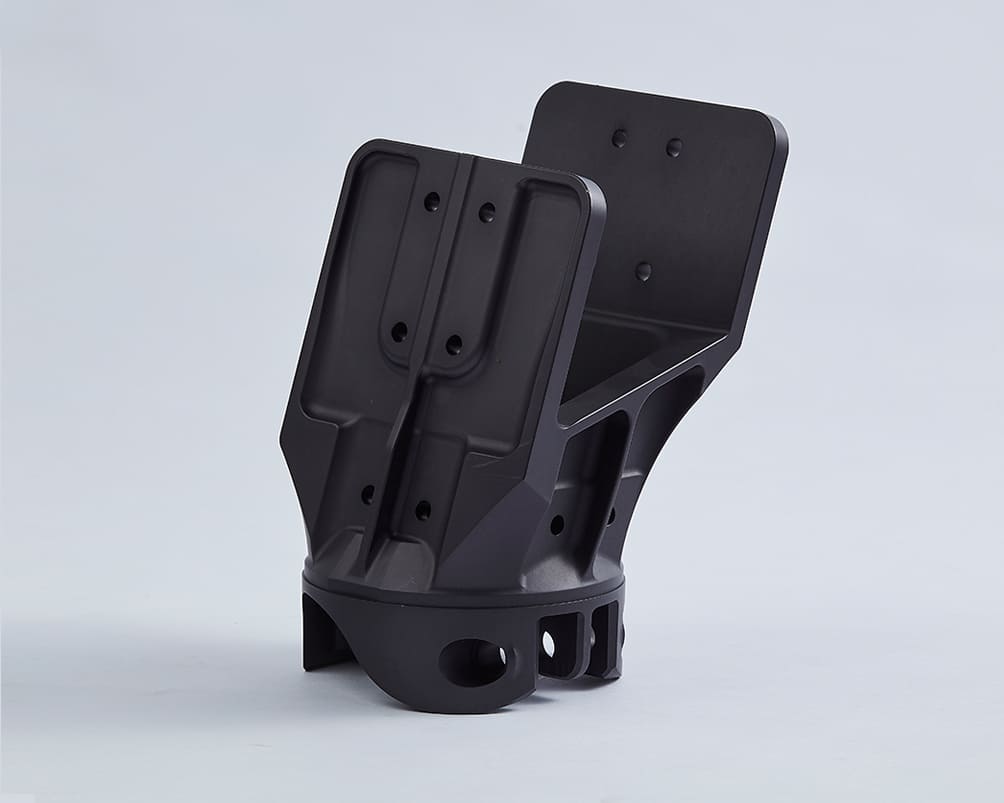
If tooling timelines kill your schedule, use CNC machining for metal or high-performance plastics for low volumes. Urethane casting is good for short runs of complex geometries with good surface finish. Each alternative trades unit cost, material fidelity, and lead time. Choose based on which risk you can tolerate: schedule, final material properties, or cost per piece.
Wrap-up — what this gives you
Fix the handoff by being exact about what you need, validating with realistic prototypes, and choosing a manufacturing partner who understands both the tooling nuances and the tolerances you care about. That approach shrinks surprises and keeps launches on schedule — and it’s the exact kind of thing teams get from working with experienced suppliers like Hanstar, who bridge engineering detail into repeatable production without unnecessary guesswork.