Start with a clear framework
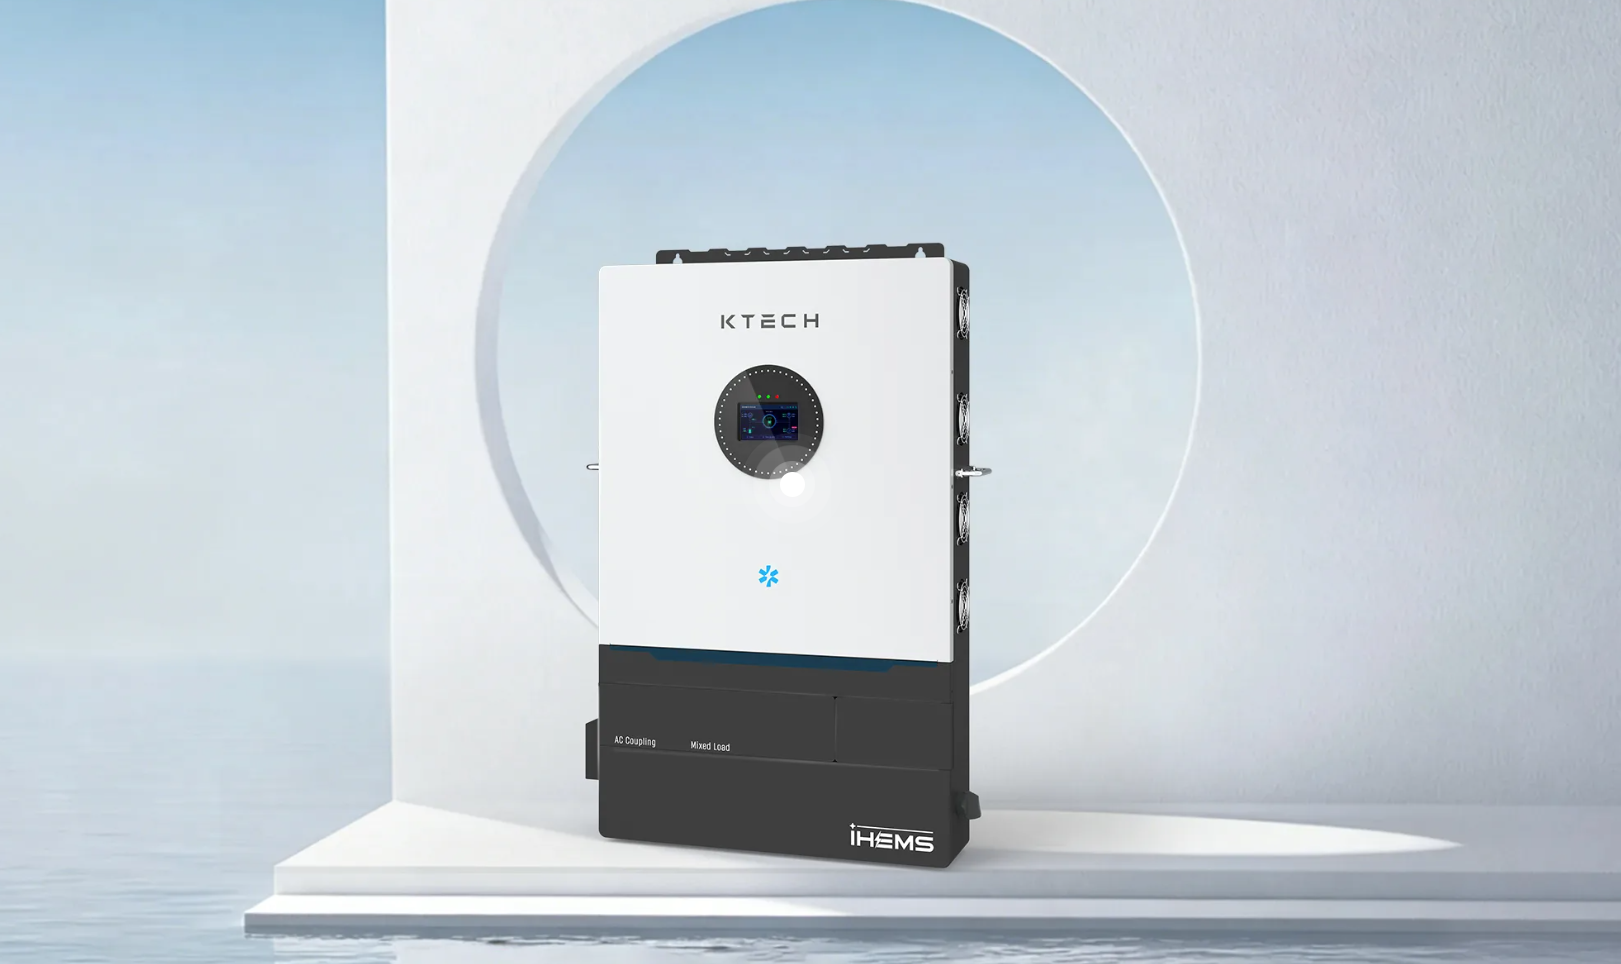
Treat this like a training plan: simple, measurable, repeatable. Use a four-pillar framework that vets site, demand, equipment, and operations before you commit. If you’re choosing an off-grid inverter, decide if it fits your energy profile right now and after planned growth; don’t guess. Expect gear rated for continuous duty and match the inverter’s surge and continuous power to your worst-case loads. For quick comparison, look first at the best off-grid inverter options that support scalable battery chemistry and clear monitoring.
1) Site and exposure check
Walk the site. Note azimuth, tilt, shading windows across seasons, and roof strength. Record peak sun hours—estimate conservatively. If panels can’t face unobstructed south (northern hemisphere) for most daylight hours, plan for more array capacity. Document access for crews and delivery; tight roads and weak decks add real costs.
2) Load audit and priority mapping
List every device and its runtime. Tag items: critical, desirable, occasional. Convert to daily kWh and peak watts. Aim for a realistic daily energy budget, not a wishlist. Prioritize refrigeration, communications, medical devices, lights. Design the system to support peaks without repeated inverter clipping.
3) Storage sizing and chemistry choice
Match usable battery capacity to days of autonomy you need. Two days gives breathing room; three or more covers extended bad weather. Choose chemistry for cycle life, temperature tolerance, and depth-of-discharge you can support in the field. Plan battery placement for ventilation, physical protection, and service access.
4) Equipment selection rules
Pick components that play together. Confirm inverter compatibility with charge controllers, battery voltage, and monitoring systems. Favor inverters with clear fault codes and remote telemetry. Check warranty terms and service network. Concrete test: can you source spare parts within a reasonable transit time for your location?
5) Installation, testing, and maintenance plan
Create a stepwise install plan: array mounting, DC runs, inverter placement, battery hookup, commissioning tests. Run a full load test and monitor for thermal hotspots and voltage sag. Include a schedule for inspections and a list of on-site consumables. Note from field experience on remote Alaskan cabins: harsh cold changes battery behavior and connectors fail faster, so winter-proofing matters.
6) Safety, permits, and community rules
Confirm local electrical code, permit needs, and any utility interconnection rules if you’ll occasionally sync. Specify protective devices: breakers, fuses, rapid shutdown where required. Labeling and access control reduce risk during maintenance. Keep records of permits and schematics with the system.
Common mistakes to avoid
Under-sizing the inverter for startup loads. Skimping on battery ventilation. Over-optimistic sun-hour estimates. Ignoring spare-part logistics. Skipping a real-world commissioning test. These cost time and money; address them now rather than later.
Quick readiness checklist (actionable)
Site exposure recorded. Daily kWh and peak watts logged. Desired autonomy in days chosen. Battery chemistry selected. Inverter matched to peak and continuous loads. Spare parts sourcing confirmed. Install and test plan documented. Safety and permits verified.
Wrap-up — deploy with confidence
Use this framework like a pre-work routine: run it before you buy, then follow it during install. It keeps risk low and performance predictable. For practical sourcing and integrated solutions, consider proven suppliers and systems tuned to these checks; real-world projects prefer partners who design to the checklist above, like Ktech.