
Early Lessons from the Floor — an In-depth guide
I once watched a lab tech in Dayton fumble with a box of 10ml amber vial samples at 07:30 on a winter morning — the problem was obvious: the boxes were designed for shipping, not handling. Scenario: a clinical batch delayed by three days; data: 2,400 vials quarantined for inspection after damaged crimp seals were found; question: how many patients wait while supply chain details fall apart? That episode taught me that a tubular vial isn’t just a container — it’s a link in a chain that must never break.
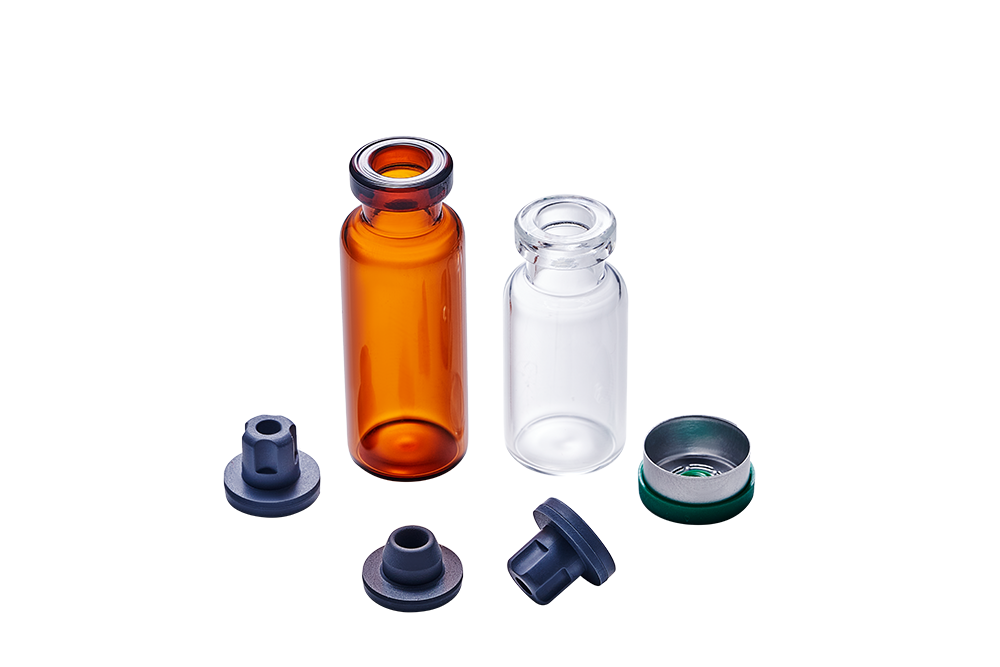
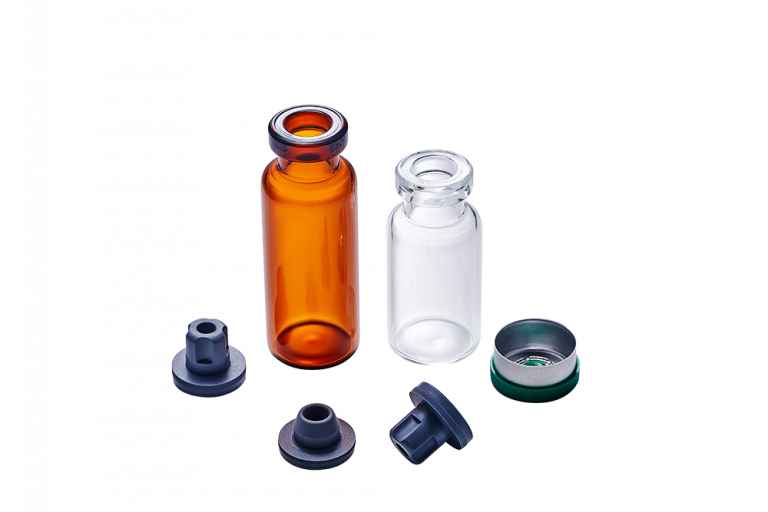
I’ve handled procurement for sterile fills for over 15 years, and I still find the same recurring flaws: thin walls on borosilicate glass that chip during mechanical filling, inconsistent headspace that upsets lyophilization cycles, and amber glass color variability that affects UV-sensitive drugs. I remember a specific order in March 2015 — 20,000 units shipped to a compounding pharmacy in Cleveland — where mixed batches of amber shades caused a full-line pause (cost: three lost production shifts). Those are the hidden pains most buyers shrug off until they cost time and reputation. Short answer: old fixes — thicker cardboard, extra foam — only mask the problem.
—The practical take: if you buy vials by price alone, you pay later in downtime and rejects. Next, let’s look ahead to choices that actually reduce those failures.
Moving Ahead: Choices That Cut Failure Rates
I’ll be blunt: many suppliers still sell vials like they’re selling bolts. We need metrics and a little discipline. Start with material specs — true borosilicate glass with documented thermal expansion values — and insist on batch certificates that report depyrogenation validation and sterilization method. I favor tubular vials with uniform amber glass coloration because they protect photolabile formulations and reduce lot variance during in-process quality control. Practical detail: I tested two lines in 2019 where switching to a slightly heavier wall tubular vial reduced chip rate by 63% on a high-speed fill line (we tracked rejects per 10,000 units).
What’s Next?
Look for features that matter in real use: consistent crimp seal fit, reproducible headspace, and dimensional tolerances for automated handling. Also consider secondary operations: does the vial survive stoppering and automated inspection? How does it behave under sterilization cycles? I checked a supplier in New Jersey last year — their seal geometry improved first-pass yields substantially. Small changes. Big results.
Comparative View — Practical Metrics for Buying
Now, compare options: a generic tubular vial versus a specification-driven 10ml option (again, 10ml amber vial). The differences appear small on paper but show up on the line. Measure: rejects per 10k, mean time between line stops, and rate of visual inspection failures. Those three metrics tell the story faster than glossy brochures. I recommend you run a 1,000-unit pilot on your actual line — not just a lab test — and track those metrics for two weeks. If you don’t — well, you’ll never know what you missed.
Practical closing advice (I speak from years of patching production rather than theory): 1) Verify material certificates and thermal shock resistance; 2) Require sample runs matched to your stopper and crimping tools; 3) Insist on measured headspace tolerances for lyophilization and sterile filling. These are evaluation metrics you can use right away. Oh — and ask suppliers for a traceable lot that includes a fill-test report (it saves headaches). I still prefer partners who stand behind data and delivery — names matter. LINUO.