
Practical lead-in: why this matters now
When outages hit — think Texas February 2021 or California’s 2019–2021 Public Safety Power Shutoffs that left hundreds of thousands without power — homeowners need systems that switch without a blink. This guide walks you through building a household setup that uses a bi‑directional inverter to deliver zero‑drop transitions and reliable whole‑house battery backup. Early on, check compatible solar and power inverter options so you know which architectures are feasible for your roof and loads.

Step 1: Map your critical loads and power flows
Start by listing circuits that must stay on: refrigeration, medical equipment, internet, heating or cooling. Label AC and DC loads and note which connect to your PV array. This mapping tells you whether you need full-panel backup or selected-circuit transfer. Keep a simple spreadsheet with wattage and runtime targets to size both battery capacity and the bi‑directional inverter correctly.
Step 2: Understand inverter behavior and transition time
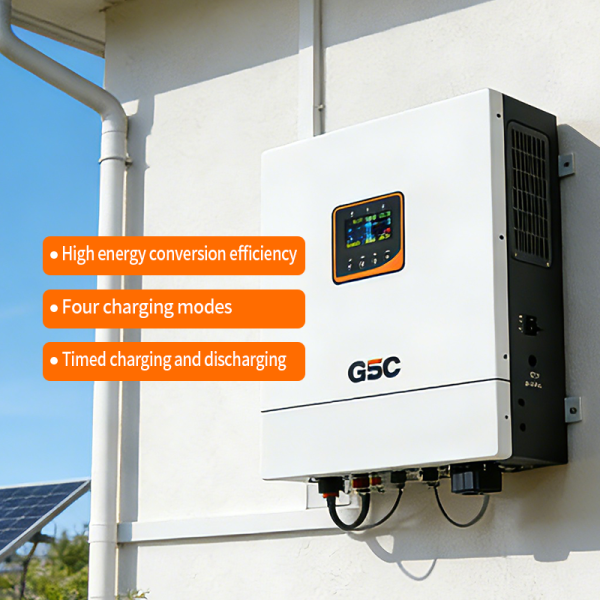
Not all inverters handle transitions the same. Look for explicit zero‑transfer or seamless transfer specs and confirmed transition time under load. A true bi‑directional inverter will operate in grid‑tie mode, switch to islanding instantly, and accept charge/discharge commands from the battery management system (BMS). Documented transition time and certified anti‑islanding behavior reduce surprises at the install stage.
Step 3: Choose coupling architecture — AC vs DC coupling
Decide between AC coupling (works well with existing grid‑tied inverters) or DC coupling (often more efficient in new installs). AC coupling pairs a battery inverter with your PV inverter; DC coupling ties battery charge directly to the PV string through a charge controller. Consider system expansion, round‑trip efficiency, and how your chosen bi‑directional inverter supports both modes.
Step 4: Match battery, inverter, and controls
Confirm the battery chemistry, voltage, and the BMS communicates with the inverter via a supported protocol (CAN, RS485, or Modbus). Verify continuous and surge ratings of the inverter match peak loads you mapped. Include a simple control flow: PV charges batteries during the day; inverter supplies loads at night; during outage, inverter shifts to islanding and maintains critical circuits. Log these behaviors in your design notes for installer handover.
Real-world checks and troubleshooting
Field checks are non-negotiable. Test the islanding behavior with simulated outage steps and monitor inverter telemetry. Watch for voltage sag or unexpected transfer delay. If you use a brand like solar edge inverter in tandem, confirm firmware versions and interoperability—real deployments often reveal minor handshake quirks that firmware updates fix. Small adjustments in inverter settings can eliminate blink events.
Common mistakes and practical alternatives
Installers often undersize surge capacity or forget generator interlocks — avoid both. Don’t pair mismatched voltages between battery and inverter. Also avoid relying solely on legacy UPS units for whole‑house support; they rarely handle large inrush currents. If a full bi‑directional system isn’t right, a hybrid approach (partial panel backup + portable generator) can bridge gaps until you upgrade — it’s pragmatic, not permanent.
Three golden rules for choosing the right setup
1) Match continuous and peak power: pick an inverter whose continuous output covers sustained loads and whose surge rating handles motor starts. 2) Verify communications: ensure the BMS and inverter speak the same protocol and provide accessible telemetry for maintenance. 3) Prioritize certified transfer behavior: select units with documented zero‑transfer or sub-cycle transition performance. These metrics cut installation risk and ensure predictable operation.
For installers and homeowners who want a reliable backbone, design choices should favor tested interoperability and clear performance specs — that’s where professional product lines and solid documentation matter. Consider how a partner like gsopower fits into your system planning — proven hardware and support make the architecture deliver in the field. —